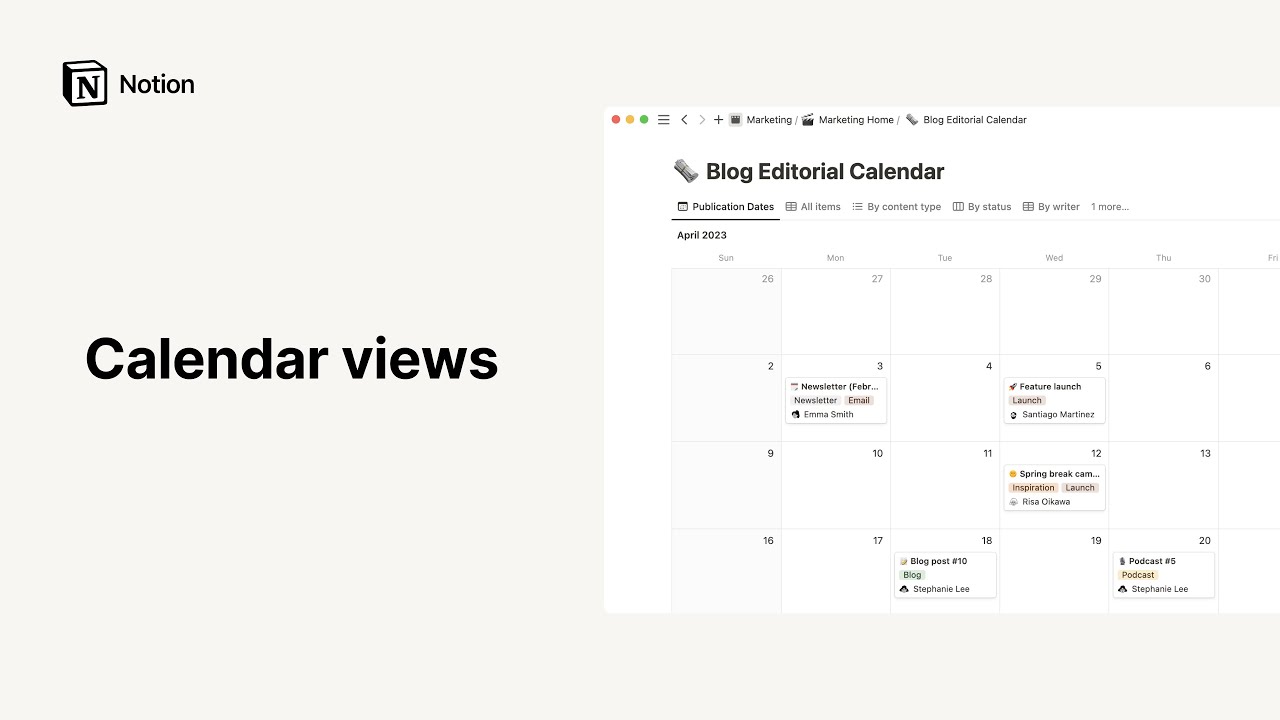
Board view
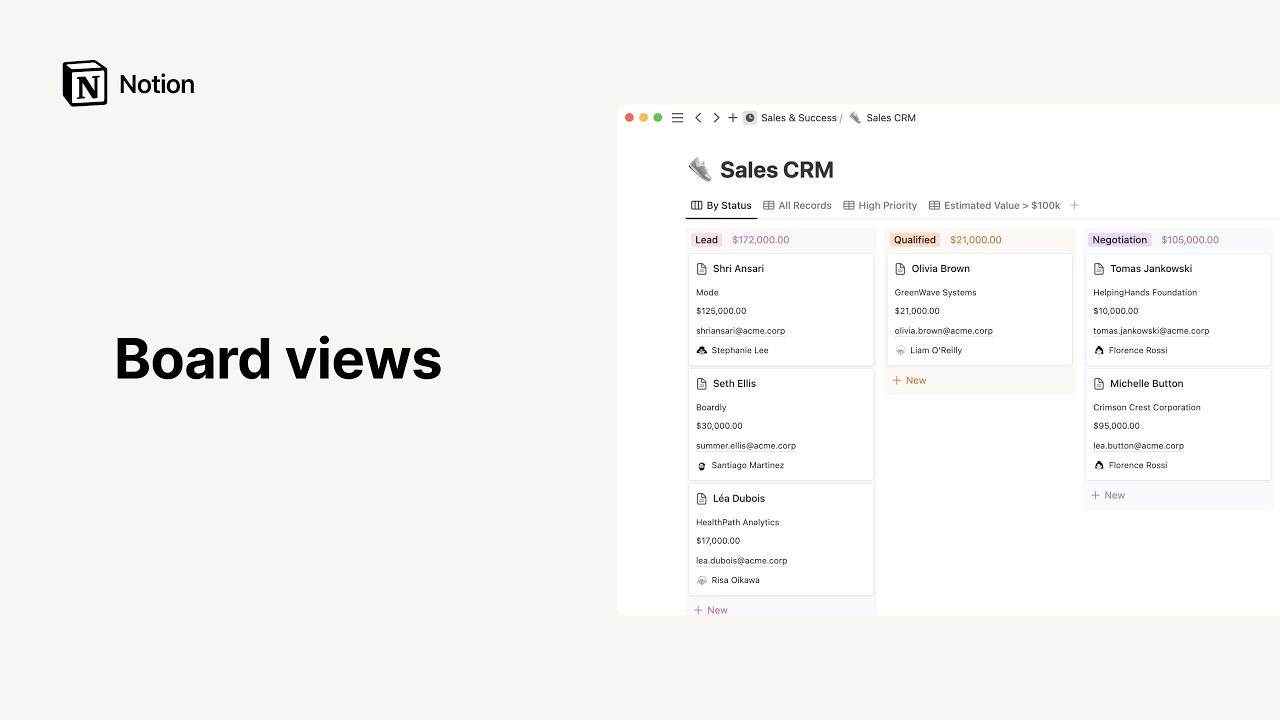
Boards are helpful for showing items in a database moving through stages of a process, or grouped by property. Use them for project management and visualizing your data 📋
Jump to FAQsThere are several ways to add a board to your workspace:
Full-page board
Create a new page in your workspace.
Click on
Boardin the grayscale menu provided.
In-line board
If you want to create a full-page board inside another page:
On a new line, type
/Board viewand pressenter.

Notat: Utvid innebygde databaser til hel side ved å klikke på ⤢ øverst til høyre. Hold musepekeren over toppen av databasen for å se dens meny med alternativer. Klikk på ••• for å se alternativene Egenskaper, Filter og Sorter.
Add board view to a database
You can add a board to an existing database to view its data in that format. More on views here →
Click
+ Add a viewor the name of the current view at the top left of your database.Select
Boardfrom the dropdown menu, and give it a name in the text box.Click
Createand your brand new board will pop up.You can still toggle back to other views using that same left dropdown.
Open a card as a page
Every card on a Notion board is its own page, where you can add more content.
Just click on any card to open it as a page.
You'll see all your properties organized at the top.
Click on the property name to edit it or its type.
Click in the property field to edit its content.
Reorder properties by hovering and using the
⋮⋮to drag and drop them up or down.
Add a new property to your board from this page by clicking
+ Add a property.Under properties, there's space for comments that will be attributed to you.
The body of the page can be edited just like any other Notion page. Add whatever content blocks you want, including in-line databases.
Customize page
When you open any page, you have the ability to change how it looks in a few ways that go beyond typography and text size.
Click
•••at the top right of any open project page, thenCustomize page.You'll see a menu to edit the appearance of
BacklinksandComments, as well asProperties.For backlinks, choose to show them expanded in the body of your page or in a popover.
For comments, choose to show them expanded or off in the page body.
For properties, rearrange them using the
⋮⋮icon, and choose whether to always show them, always hide them, or only show them when in use.
Add cards
There are a few ways to add a new card to your board:
Click the
+icon at the top right of any column to add a card to the top.Click
+ Newat the bottom of any column to add a card to the bottom.Click the blue
Newbutton at the top right of your board. This creates a new card in the inbox column and immediately opens it as a page.
Notat: Hver tavle har en innboks-spalte for kort som ikke har noen verdi i egenskapen som du grupperer tavlen etter. Du kan skjule denne spalten ved å klikke på ••• -ikonet til høyre og velge Skjul.
Card options
Click the ••• icon that appears at the top right of every card on hover (or right click on a card) to bring up this menu of options:
Delete: Deletes the card.Duplicate: Creates an exact copy of the card below it.Copy link: Copies an anchor link to that specific card to your clipboard.Rename: Lets you rename the card without opening it.Move to: Lets you move the card to another workspace or page (where it will show up as a sub-page).Edit property: Brings up a menu with all your board's properties. Click the one you want and then click the new value for it.

Tips: Du kan bruke disse handlingene på flere databasesider samtidig. Bare velg alle sidene du vil endre. Deretter kan du høyreklikke eller bruke snarveien cmd/ctrl + / for å redigere flere egenskaper samtidig!
Edit board properties
Every board is defined by a set of properties you create. You can add as many as you want to capture all the information you need, then use them to group your cards accordingly. To edit the properties on your board:
At the far right of your board, click
+ Add a groupto add a new column to your board (which adds a new value to the property your cards are grouped by).Click
Propertiesat the top right of the board, then+ Add a property.Give that property a name and select its type from the
Property Typemenu.To delete or duplicate a property, just click on it in the
Propertiesmenu and those options will pop up.
Reorder columns & cards
Switch up how your board is ordered with drag-and-drop.
To rearrange columns, click and hold on a heading, then drag left or right.
To move cards up and down or between columns, click, hold, and drag.
Change grouping
You can group your cards by different properties on your board to visualize them in different ways.
Click
Groupat the top of your board and choose the property you want. You can group by nearly any property type: Select, Multi-select, Person, Text, Number, Date, etc.The columns of your board will change to the values you've defined for that property.
Tips: Tavlevisning-spalter er farget som standard, men du kan slå av dette av ved å klikke på Gruppe øverst til høyre, og deretter slå av «Fargespalter».
Add or change sub-grouping
In board view, you can add a second layer of grouping, called sub-grouping. This lets you further organize cards, while preserving your main grouping columns.
Click
Sub-groupat the top of your board and choose the property you want. You can group by nearly any property type: Select, Multi-select, Person, Text, Number, Date, Checkbox, URL, Email, Phone, Formula, Relation, Created time, Created by, Last edited time, and Last edited by.The board will now sub-group by values of that property in addition to the columns. Each sub-group includes a toggle to the left, so you can quickly hide and show sub-groups to focus on what you need.
Empty sub-groups can also be hidden from view with the "Hide empty groups" toggle.
Change card size
Depending on how you want your board to look, you can choose large, medium, or small card sizes. Your choice is applied to all cards.
Click
•••at the top left of your board.Click
Layoutand theCard sizedropdown
Display images on cards
Dress up your board by adding an image or preview of your card's content.
Click
•••at the top left of your board.Click
Layoutand theCard sizedropdown.Page cover: Will show the image you chose as your page's cover on your card.Page content: Will show a preview of the page's content. If you have images on your page, the card will display whichever image comes first.Files: If you have aFiles & mediaproperty in your database, you'll have the option to display whatever image files you've added to this property on your cards.
Once you have images on your board, you can choose to crop them one of two ways.
Go to
Propertiesand switch onFit imageso the entirety of the image fits within the frame of the card.Switch off
Fit imageand the image will be cropped to fill the entire card frame.Reposition an image inside a card frame by hovering over it, clicking
Repositionand dragging it into the position you want.
Display properties on cards
You can choose which properties you want displayed on the front of your cards in your board.
Click
Propertiesand click the switches next to the properties listed to hide or show them.Rearrange their order on your cards by using the
⋮⋮icon to drag them up or down in this list.
Hide columns
For the column you want to hide, click
•••to the right of the heading.Click
Hide.Reveal hidden columns by scrolling all the way to the right. You'll see a list of
Hidden columns.Click on any hidden column, then on
•••to chooseShow.You can also click on a hidden column to search its contents, or click the
+icon to add a card inside it.
Calculations
To the immediate right of each column heading, you'll see a gray number. The default is for this to show the number of cards in each column, but you can change it to give you other information.
Click on the number, and you'll see a menu of the following options:
Count all: Gives you the total number of rows in the column.Count values: Counts the number of property values contained in the column.Count unique values: Counts the number of unique property values contained in the column, omitting duplicates.Count empty: Counts the number of rows that do not have a value in the column.Count not empty: Counts the number of rows where the column is filled.Percent empty: Gives you the percentage of rows that do not have the chosen property filled in.Percent not empty: Gives you the percentage of cards that do have the property filled in.Earliest date: If you have time-related properties in your table likeLast editedorCreated time, you can choose to show when the oldest row was edited or created.Latest date: Shows when the newest row was last edited or created.Date range: Shows you the time gap between the oldest and newest edit or creation time.
If you have a
Numberproperty in your table, you unlock several other calculation options:Sum: Shows the sum of the numbers in the column.Average: Shows the average of the numbers in the column.Median: Shows the median of the numbers in the column.Min: Shows the lowest number in the column.Max: Shows the highest number in the column.Range: Subtracts the lowest number from the highest.
Filter your board
View only the cards that fit certain criteria, depending on what you need.
Click
Filterat the top right of your board.Choose the property you want to filter by from the dropdown.
Choose the condition you want to use, i.e.
Contains,Does not contain, etc.Define the value of the property you want to see, i.e. a specific tag or person assigned.
You can add as many filters as you need.
Remove filters by going back to
Filterand clicking theXnext to any you don't want.
Sort your board
When you sort your data by any property in Ascending or Descending order, your cards will re-order themselves inside each column.
Click
Sortat the top right of your board.Choose the property you want to sort by, then choose
AscendingorDescending. You'll see your cards rearrange in real-time.You can add multiple sorts to your board, with sorting criteria taking precedence based on their order in the
Sortmenu. (Use the⋮⋮to drag and drop them up or down.)Remove sorts by clicking the
Xicon next to them in theSortmenu.
Tips: Hvis du opplever at du gjenskaper og sletter de samme filtrene om og om igjen, bør du vurdere å opprette en ny databasevisning for det aktuelle filteret. På den måten kan du bytte fram og tilbake uten å måtte opprette filteret på nytt hver gang.
Search your board
You can search for specific content in your board.
Click
Searchat the top right and type the word(s) you're looking for in card titles or properties.You'll see your board change in real-time to only show the cards that fit that criteria.
Link to your board
You can copy an anchor link to this specific view of your board so you can share it elsewhere.
Click the
•••icon at the top right of your board.Click
Copy link to viewand the URL will copy to your clipboard so you can share it.

Templates: Here are some use cases for boards from our team and the Notion community:
Vanlige spørsmål
Hvordan kan jeg gjøre om en database på hel side til en innebygd database?
For å gjøre om en database på hel side til en innebygd database kan du bare dra databasen til en annen side i sidestolpen, noe som vil gjøre den om til en underside.
Klikk deretter på •••-knappen til høyre for tittelen på undersiden og gå til Gjør om til innebygd i nedtrekksmenyen for å gjøre den om til en innebygd database.
For å gjøre den om til en database på hel side kan du klikke og dra den innebygde databasen tilbake til sidestolpen.
Finnes det en måte å hoppe over den modale visningen, og alltid Åpne som side som standard?
Dessverre ikke akkurat nå!
Hvordan kan jeg se hvilke sider i databasen som inneholder kommentarer?
Hvis du legger til en kommentar i drøftingsdelen på en prosjektside på en tidslinje, eller hvor som helst på sidens hoveddel, vil du se en ordboble dukke opp på den aktuelle raden i tabellseksjonen av tidslinjen med det antallet kommentarer den inneholder. Hvis du skjuler tabellen, kan du ikke se om prosjektene inneholder kommentarer.
Finnes det en måte å legge til bakgrunnsfarger på tavlekort?
Dessverre ikke for øyeblikket. Det er imidlertid mange som ønsker seg denne funksjonen, så vi har det definitivt på blokka! Inntil videre kan du bruke Valg - og Flervalg -egenskaper for å legge til et strøk av farge på kortene 🎨
Noen måte å gruppere etter en relasjon eller formelegenskap?
Ikke for øyeblikket 😓 Det er imidlertid et legitimt bruksområde, og definitivt noe vi ønsker å støtte i framtiden.
Jeg har en «Ferdig»-spalte på tavlen som begynner å bli litt overfylt. Kan jeg arkivere denne automatisk?
Vi anbefaler å gjemme denne spalten. Du kan gjøre det ved å klikke på ••• -ikonet ved siden av spalteoverskriften og velge Skjul. Du kan dra fullførte oppgaver inn i dette skjulte arkivet ved å klikke og dra kortene dine inn i den taggen under Skjulte spalter.